How to Create Games Without Coding: A 2026 Guide
Have you ever had a brilliant idea for a video game but felt stopped by the daunting wall of code? For decades, game development was a field reserved for those with deep technical expertise. But in 2026, that reality has fundamentally changed. Thanks to the rise of powerful AI and intuitive no-code platforms, the ability to bring a virtual world to life is now in the hands of creators, not just coders. This guide will walk you through exactly how to create games without coding, breaking down the process into simple, actionable steps.
Step 1: Solidify Your Game Concept
Before you touch a single tool, the most critical step is to define your idea. A strong concept is the foundation of a great game. Rushing this stage is a common mistake that can lead to a confusing or unfun player experience. Take some time to think through the core elements of your game.
- Genre: What kind of game is it? A side-scrolling platformer, a puzzle game, a top-down adventure, or something else entirely?
- Core Mechanic: What is the primary action the player will perform over and over? Is it jumping, solving puzzles, collecting items, or making choices?
- Objective: What is the player’s goal? Is it to reach the end of a level, achieve a high score, or unravel a story?
- Target Audience: Who are you making this game for? A game for young children will have very different design considerations than one for hardcore strategy fans.
Write down a simple, one-paragraph description of your game. This will be your guiding star throughout the development process.
Step 2: Choose the Right No-Code Platform
With a clear concept, it’s time to select your creative toolkit. The no-code game development market in 2026 is rich with options, but they generally fall into a few categories: drag-and-drop editors, visual scripting tools, and the newest evolution: AI-powered generative platforms. For those looking to turn ideas into playable games with maximum speed and creativity, AI-driven tools are leading the charge.

When evaluating platforms, consider these factors:
- Ease of Use: How steep is the learning curve? Look for platforms with intuitive interfaces and clear documentation.
- Feature Set: Does the platform support the type of game you want to build? Check for features like physics engines, multiplayer support, and platform-specific deployment.
- Asset Library: Does it come with a built-in library of characters, environments, and sounds? This can save you hundreds of hours.
- AI Capabilities: Can the platform assist with generating assets, logic, or even entire game mechanics from a simple text prompt?
Platforms like MakeGamesWithAI are specifically designed for this modern approach. By using AI to handle the complex logic, it allows you to focus purely on the creative aspects of game design, making it a fantastic option, especially for those just starting their journey. If you’re a hobbyist, exploring the right tools is key, as detailed in our AI Game Creation for Hobbyists: A 2025 Guide.
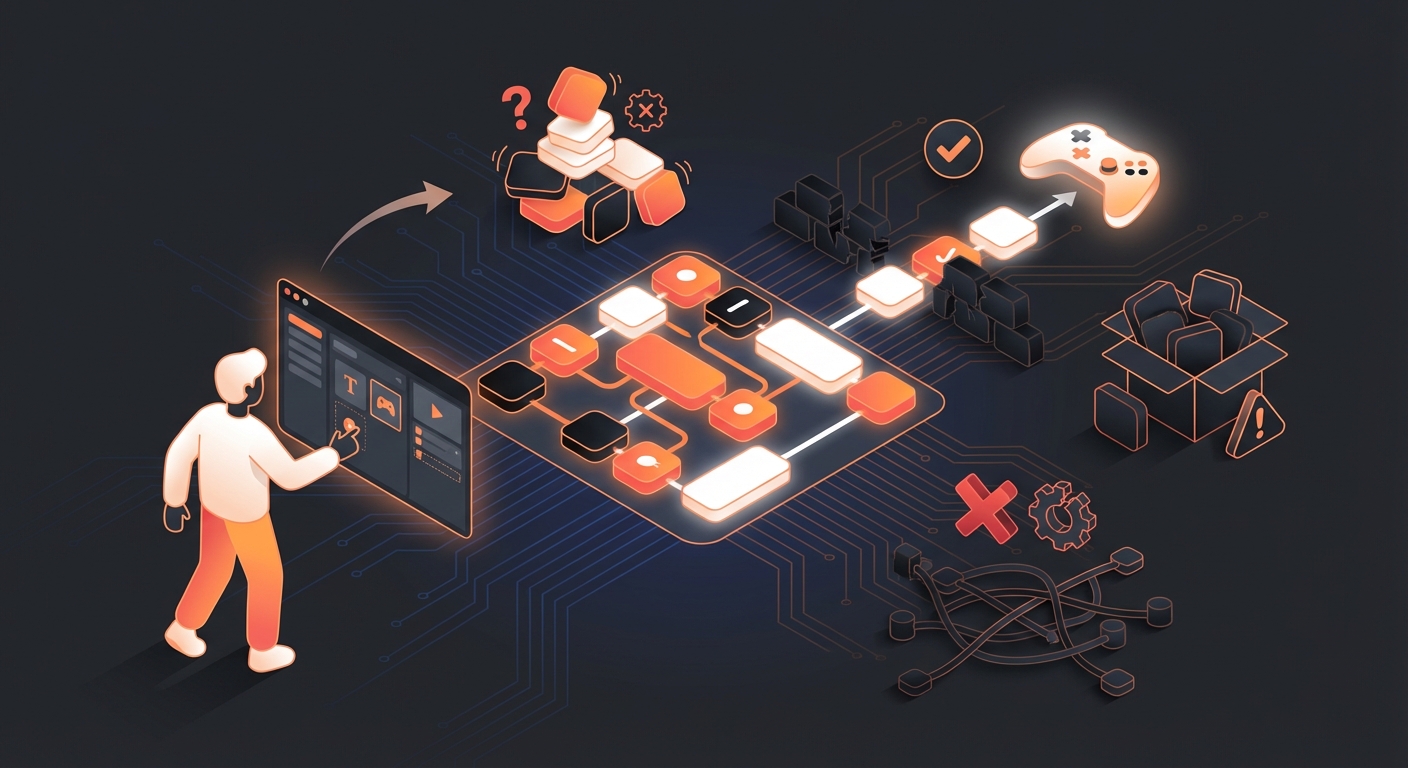
Step 3: Prototype the Core Gameplay Loop
Don’t try to build your entire game at once. Instead, focus on creating a small, functional prototype that demonstrates your core mechanic. This is often called the “core gameplay loop.” The goal is simple: is it fun?
For a platformer, this means getting the jumping mechanic to feel just right. For a puzzle game, it means building one or two puzzles that are satisfying to solve. Use basic shapes and placeholder art. At this stage, aesthetics don’t matter. You are purely testing the foundational fun factor of your concept.
This is where AI-powered tools truly shine. With a platform like MakeGamesWithAI, you can use chat-based editing to describe a mechanic like “make the character jump higher” and see the change in a live preview instantly. This dramatically accelerates the process, a concept we explore further in our guide on AI for Quick Game Prototyping: A 2025 How-To Guide.
Step 4: Build Out Your World and Levels
Once your core gameplay loop is engaging, you can start building the world around it. This involves designing levels, creating environments, and populating them with characters and challenges. Good level design guides the player, introduces new concepts gradually, and maintains a good pace.
Leverage the asset library of your chosen platform. A comprehensive library can provide everything from player characters and enemies to background elements and special effects. For instance, MakeGamesWithAI offers over 100 professional gaming assets to help you build visually stunning worlds without needing to be an artist. You can also use AI tools to generate unique assets, which is particularly useful for character design, a topic we cover in our guide to AI Character Creation for Games: A 2025 Guide.
Step 5: Add Polish with Art, Sound, and UI
With the structure in place, it’s time to add the layers of polish that transform a functional prototype into a memorable experience. This includes:
- Visuals: Replace placeholder art with final assets. Pay attention to color schemes, lighting, and visual effects to create a cohesive mood.
- Audio: Sound is crucial for immersion. Add background music that fits the tone of your game, and implement sound effects for actions like jumping, collecting items, or defeating enemies. Many platforms now include an AI Game Sound Effects Generator: A 2025 Guide to create custom audio with ease.
- User Interface (UI): Design clear menus, a heads-up display (HUD) for information like score or health, and any other on-screen elements the player needs to interact with.
Step 6: Test, Iterate, and Refine
No game is perfect on the first try. The next step is to get your game in front of other people and watch them play. This is called playtesting, and it’s one of the most valuable parts of the development process. You will quickly discover what’s working, what’s confusing, and what’s not fun.
Take notes, gather feedback, and be prepared to make changes. The beauty of building a game without code is that iteration is fast. You can move an obstacle, change a character’s speed, or redesign a whole level without having to recompile complex code, especially when using an editor with a live preview.
Step 7: Publish and Share Your Creation
Congratulations, you’ve built a game! The final step is to share it with the world. Modern no-code platforms have streamlined this process immensely. Many, including MakeGamesWithAI, offer instant deployment, allowing you to publish your game to the web with a single click. This lets you easily share a link with friends, family, and your community.
Once your game is live, you’ll need to think about getting people to play it. This is a whole new challenge, but there are many strategies you can use, as outlined in our AI Game Promotion Tips for 2025.
Common Mistakes to Avoid When Building Without Code
As you embark on your game creation journey, be mindful of these common pitfalls:
- Over-Scoping: Don’t try to build your massive dream RPG as your first project. Start small, finish a project, and build on your success.
- Ignoring the Core Loop: Avoid spending weeks on art and music before you’ve confirmed that the basic gameplay is actually fun.
- Choosing the Wrong Tool: Selecting a platform that can’t support your game idea will lead to frustration. Do your research in Step 2.
- Skipping Playtesting: You are too close to your own project to be objective. Fresh eyes are essential for finding problems and improving the player experience.
Your Game Development Journey Starts Now
Learning how to create games without coding has never been more accessible than it is today in 2026. By following these steps—from solidifying your concept and choosing the right AI-powered tools to prototyping, polishing, and publishing—you can turn your unique vision into a playable reality. The technical barriers have been removed, leaving only your creativity as the limit.
If you’re ready to take that first step, platforms like MakeGamesWithAI provide everything you need to start building instantly. The journey from player to creator is an exciting one, and it’s waiting for you to begin.